|
 Home Home
 Projects Projects
 Experiments Experiments
 Circuits Circuits
 Theory Theory
 BLOG BLOG
 PIC Tutorials PIC Tutorials
 Time for Science Time for Science
|
| ||
|
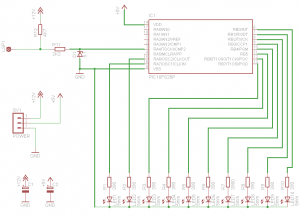
8 July 2011 Author: Panagiotis Kalogeris PC Fan RPM Bargraph Meter and Failure Alarm with PICI'm really very happy to present this circuit! This is a very special page, and what's special about it is that this circuit is designed NOT by me, but from a PCB Heaven reader, which happens to be also one of my students in my PIC classes. As a matter of fact, he is my first student... Well, ok, he is my only student :). So, this is the very first circuit page that i host in my site which is designed by a PCB Heaven reader. Special thanks to Panagioti Kalogeri, which you will find him trolling around my site with the id _Pike... This circuit is the result of an exercise that i asked him to make, in order to practice with the Timer modules of the PIC. The PIC will read the tacho output of a PC fan. The rpm is then translated into a number of LEDs turned-on on the bar-graph. The minimum rpm during which only one LED is turned on is 600 rpm, and the maximum is 1200 - which is also the max speed of the fan. Panagiotis was asked to implement the rpm measurement with the Reverse Frequency Measuring as described here. The Circuit Here is the circuit designed by Pike: (click to enlarge) 
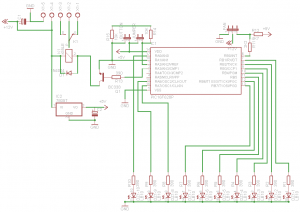
The fan is a typical 12V PC fan with 3 (or 4 wires). The tacho wire (usually comes in yellow color) is connected to the LSP1 pad. The operation is as follows: The pulses from the tacho of the fan are decreased to 0-5 volts with the zener diode, and then are driven to the input RA4 of the 16F628 PIC. The software resets and starts the Timer0 module, and waits for a full pulse period on that input (from the fan RPM feedback). After completion of a full pulse period, the PIC compares the Timer0 register with 10 predefined values, according to which, the PIC will turn on or off the LEDs on the bar-graph. Bill Of Materials - Original circuit The New Circuit (Updated 5/11/2011) Panagiotis sent me an improved circuit for this project. Here is the schematic: ~~~~ ATTENTION ~~~~ (26/1/2015) I JUST NOTICED A MISTAKE IN THE SCHEMATIC REGARDING THE ADDED BUTTONS. I have already contact Panagiotis. If he still has the corrected schematics i will upload them. Meanwhile, you can feel free to use the PCB design as it is tested and works. Bummer.
What's new: At first, Panagiotis added an 7805 to regulate the 5v supply required for the microcontroller. Now the circuit requires only 12 volts to operate. Also, he changed the rpm feedback input from the fan. He connected the pull-up resistor to the 5V instead of 12, so now the zener diode can be omitted. A transistor driver and a relay was added for failure alarm. If the fan stalls or if the fan rotates at very low speeds for more than 3 seconds, the relay is activated. The relay has 12V coil power directly from the 12v power input. You may wanna use a 5V relay, so you can connect pin1 of the relay to the output of the 7805. There are 2 modes for the alarm: The temporary and the persistent. In temporary mode, the alarm is deactivated automatically (relay is disarmed) if the fan starts rotating again. In persistent mode, the alarm is deactivated only if the operator clicks the button (another addition). The alarm mode can be changed by the jumper: If the jumper is closed, the circuit operates in persistent mode, otherwise it operates in temporary mode. Finally, he added a fan-adaptivity mode, and now the circuit can operate with fans that revolve at different speeds. Here is how it works: If the button (that resets the alarm) is kept pressed upon start-up, then the circuit is driven in adaptivity mode. It waits for 5 seconds until for the fan to revolve at full speed. Then, it measures the fan's speeds and scales the LEDs accordingly. The value is saved into the EEPROM and the circuit will use these values to indicate the rpm. At full rpm, all LEDs are on, while at half RPM, only 2 LEDs are on. Bill Of Materials - New Circuit (5/11/2011) How to calculate these values? I find it very interesting to explain how to calculate these values, mainly to prove once more the power of mathematics. So, let's begin with the fan itself. Like all PC Fans (read how PC Fans work), this fan produces 2 pulses per one full revolution. The upper limit is 1200 rpm, which means 1200 full revolutions per minute. If during one revolution the fan sends two pulses, then in 1200 revolutions it will produce 2400 pulses (1200x2). So, in 1200 revolutions per minute (RPM), we will get 2400 pulses per minute (PPM). To convert this value into pulses per second (AKA Hertz), i only have to divide it by 60 (because one minute has 60 seconds). 2400/60 = 40. In other words, when the fan runs at full speed (1200 rpm), the tacho output will produce pulses of frequency 40 Hz. Similarly, when the fan runs at 600 RPM, the tacho output will be 20 Hz. Later on, we will need to use these frequency values in terms of period. The period of a signal, is actually the inverse of it's frequency. The general formula is:
So, to convert the frequency (F) into period (T), i only have to inverse it (1/F). The period of the 40 Hz is 1/40 = 0.025 Sec, and the period of the 20 Hz is 1/20 = 0.05 Sec. Keep that in mind because we will be needing them. Now, let's see how the PIC measures this frequency. Pike has set the Timer0 module to increase with each instruction of the PIC, through a 1:256 prescaller. The internal oscillator is 4MHz, and as known, the instruction cycle is one quarter of the oscillator, so it is 1Mhz (4Mhz/4), or 1.000.000 instructions per second. The prescaller will divide this number by 256. 1.000.000/256=3906,25. So the Timer0 register module increases 3906 (integer of 3906,25) times every second. And here comes the good part. The Timer0 module is increased ONLY as long as a full pulse period lasts! And how much is that? We calculated it before! At full RPM, a full period lasts 0.025 seconds. We can hence calculate the number of pulses that the Tmr0 will measure when the fan runs at full rpm: Tmr01200 = 3906 x 0.025 = 97,65 = 97 (integer). Similarly, we can calculate the Tmr0 count when the fan runs at 600rpm: Tmr0600 = 3906 x 0.05 = 195,3 = 195 (integer). First thing you may notice is that the count at 600 rpm is greater than the count at 1200 rpm, which sounds kinda weird but it is not. It is absolutely normal, considering the fact that at 1200 rpm the pulse period is less than the pulse period in 600 rpm... You may want to read more about frequency measuring in general... Now we are getting somewhere. There are 10 LEDs on the bargraph which we want to turn on or off according to the RPM from 600 to 1200. In other words, we want the LEDs to light according to the Tmr0 count, which can be from 97 to 195. We can calculate the step easily: S = (195-97) / 10 => S = 9.8 So, we can use a step of 10, but that is not standard. We could have a smaller step for higher RPM and bigger step for lower RPM. That is totally up to what effect we want the bargraph to generate. The PIC Firmware Here is the assembly listing for those who want to change and re-compile the code, and the HEX file to simply upload and run. Version 2 applies works with the second (new) circuit (5/11/2011)
Version 1 works with the original circuit (first).
The PCB I usually do not make PCBs for my circuits, since i make them for educational or testing purposes. But Panagiotis designed a nice and tight PCB for his design. Here is the PCB board and parts layout:
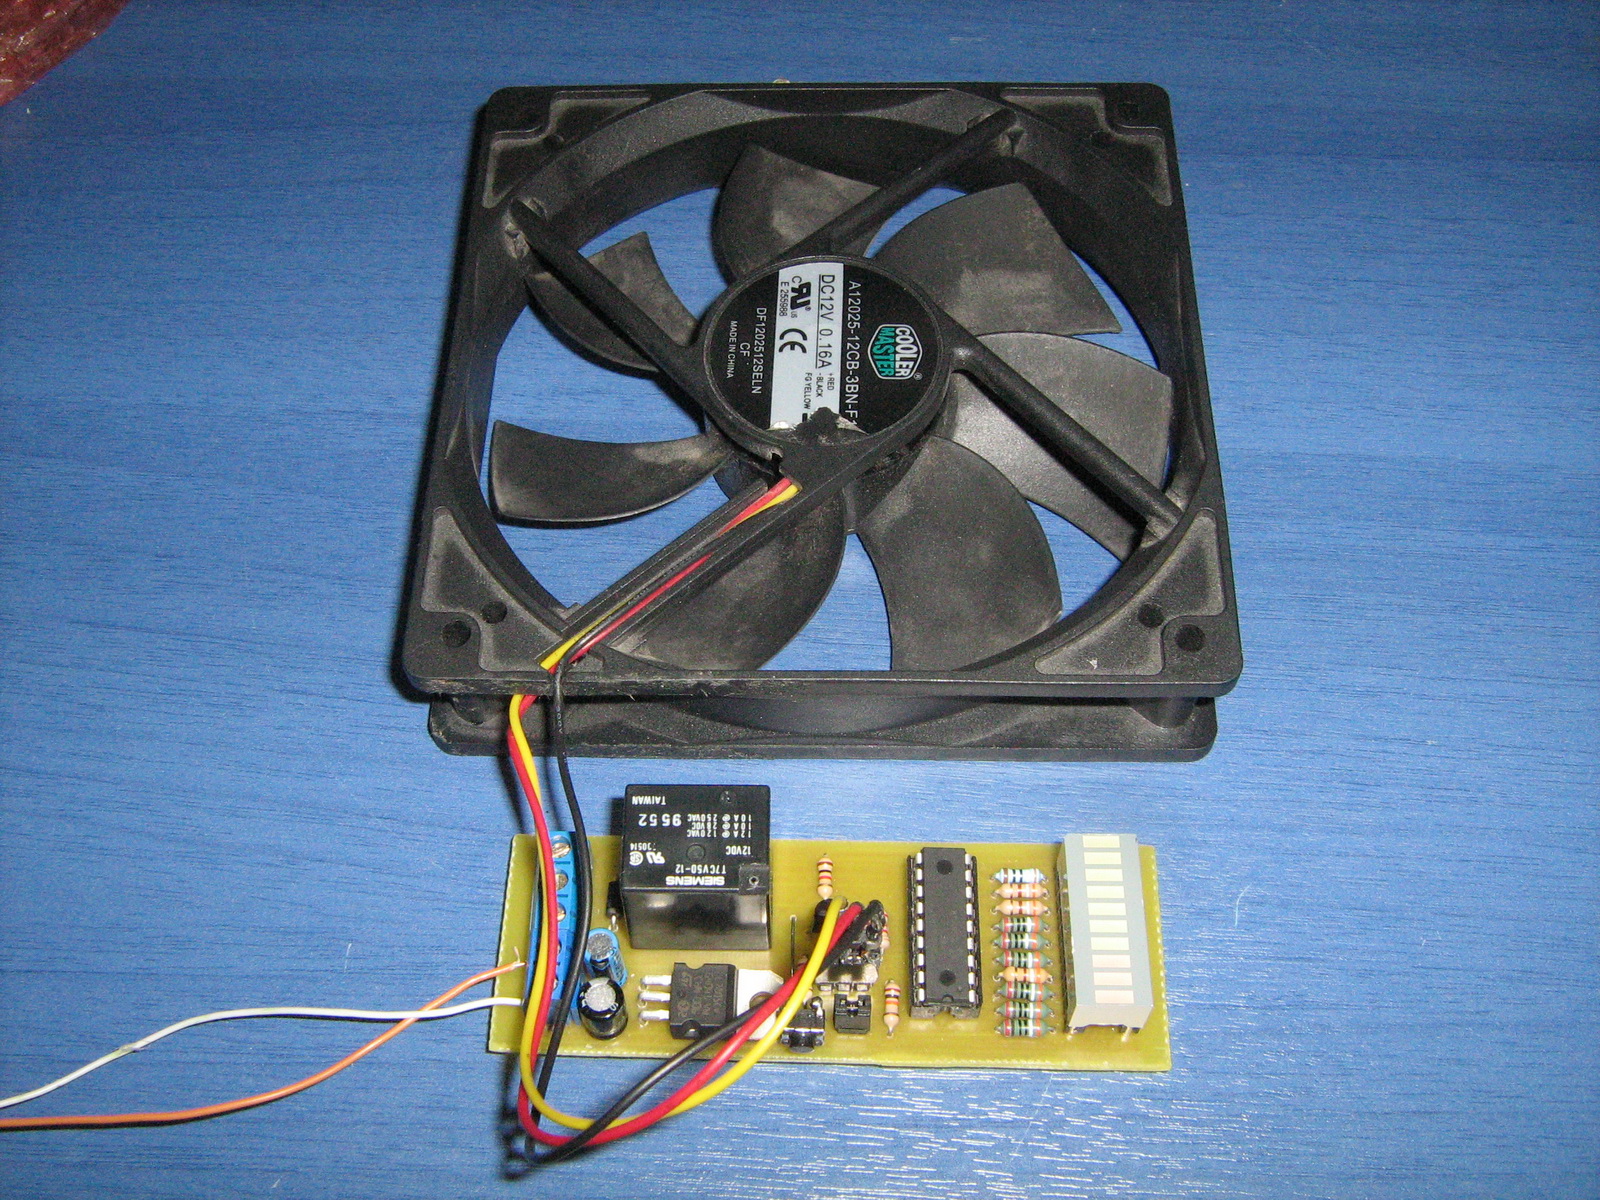
I was accused that i changed the PIC fuses when i programmed the PIC and that i enabled the MCLR pin. This gave Panagiotis a headache, because he had the MCLR pin turned off, so when he designed the PCB the MCLR was not pulled high, thus the PIC failed to operate. Well, i now formally answer to these strictures: "Practice makes perfect" After this "slight" delay, the PCB worked sweet: 
Comments
|
|
 Contact Contact
 Forum Forum
 Projects Projects
 Experiments Experiments
 Circuits Circuits
 Theory Theory
 BLOG BLOG
 PIC Tutorials PIC Tutorials
 Time for Science Time for Science
 RSS RSS
Site design: Giorgos Lazaridis © Copyright 2008 Please read the Terms of services and the Privacy policy |